Tagging Information
Helpful Pointers: Choose Activities Menu or Active Inventory header to choose Mobile/Tablet versus PC in the version that works best for you. *The most efficient way to use the system and Voice Entry is to have all your items in order by category and size before you begin. *Voice Entry is listed as a choice under Active Inventory then follow the instructions given.
ITEM ENTRY:
|
Consignment Tagging Service
Don't have time to consign, but still would love to earn a little extra cash and declutter? Let us help! Kids Kloset has a limited number of openings to help tag your items! You will make 50% of profit, minus a $10 consignor fee. Please email, [email protected], if you are interested, as spots will fill up quick!
|
PRINTING YOUR TAGS:
*** ALL TAGS MUST BE PRINTED FROM OUR WEBSITE!!! ***
- You MUST use white cardstock ONLY!
- NO construction, sticky backed, notebook, or regular printer paper. If you use this kind of paper, your tag WILL fall off the clothing and your items will probably not be able to sell.
- Please DO NOT use cardstock over 110 lbs. Over 110 lbs will soak up too much ink and may not be read.
TOOLS USED FOR TAGGING YOUR ITEMS:
- Access to a computer and printer (If not, we can help)
- White cardstock 65 weight to 110 weight (any heavier the ink will bleed, any lighter paper too thin for tags)
- Scissors
- Cable/zip ties or a pricing gun (Safety pins as a last resort)
- Safety Pins
- Tagging Gun (Tagging under the arm or label of the item)
- Appropriate sized hangers (toddler clothing above size 4 need to be on bigger adult hangers, but use judgement)
- Varied sizes of Ziploc bags/Poly Bags
- Rubber Bands
- Clear packing tape ( NO SCOTCH, DUCT, or MASKING TAPE)
- Blue painter’s tape (for games and puzzles)
Usable packaging
HOW TO PROPERLY TAG YOUR ITEMS
After you have printed your tags:
-Make sure your tags have been neatly cut.
-If you need to write any extra info on the tag, you may,as long as you do not write on the bar code. Sometimes more info is needed when selling a larger item or a multiple piece item. (Tagless items need to have the price tag attached to an available seam using a safety pin through the label or in the intersection of a seam) .
If using a tagging gun:
Do not use the holes provided on the tag.
Push tagging gun needle about 1/3 of the way down the tag. Place the tagging gun needle in the label or under the arm of the garment. NEVER PUT NEEDLE THROUGH THE GARMENT.
If using cable ties:
Do not use the holes provided on the tag.
Poke a single hole about 1/3 down the tag with a pen, pin or safety pin. The cable tie will go through the hole and then loop it in the items label or other component. Do not attach to the hanger.
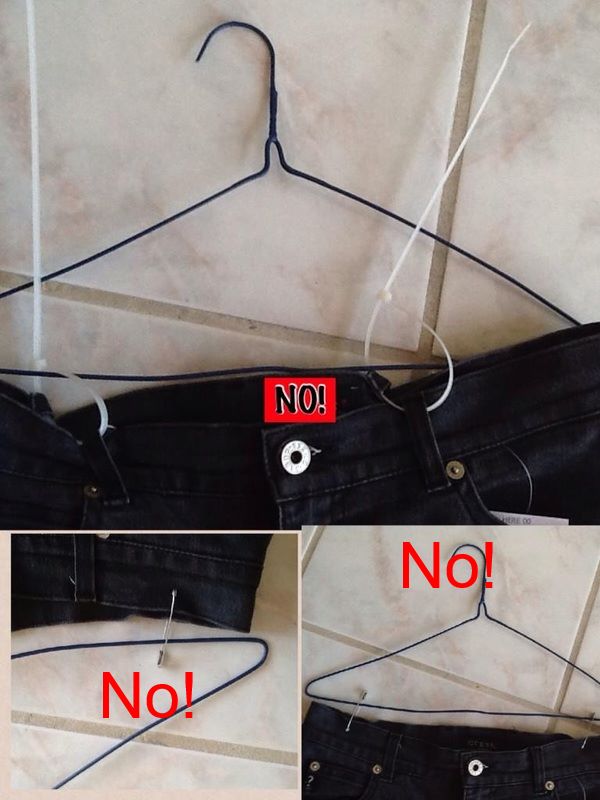
Only single pants or shorts, should you attach the tag to front so you don’t have to take off the hanger to see the size.
*Make sure that your tag is secure. However, make sure we can still remove the tag at checkout.
Do not place tag on hanger under any circumstance.
HANGING YOUR GARMENTS (Refer to pictures at the bottom of this page)
The better the presentation of your items the faster they will sell!
Clothes do not sell well in bags other than a few exceptions. Even small baby items sell better when they are hung.
Over size 3, using your judgement, look much better on larger hangers.
There is also a medium size hanger, a vinyl coated wire hanger. This is suitable for those in between sizes.
* If you are using a tagging gun to tag your clothing, DO NOT puncture clothing other than in the label. If there is no label then you may use
the waistband if a bottom or the intersection of the seams if it is a top.
* If you are using safety pins or cable ties, attach tag to the label of your garment. If there is no label then you may use the waistband if a bottom or the
intersection of the seam if it is a top.
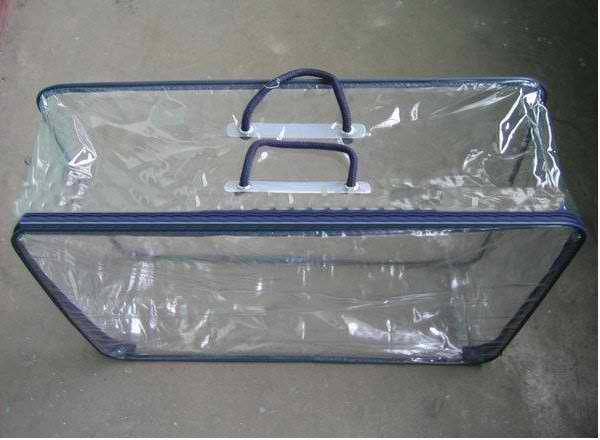
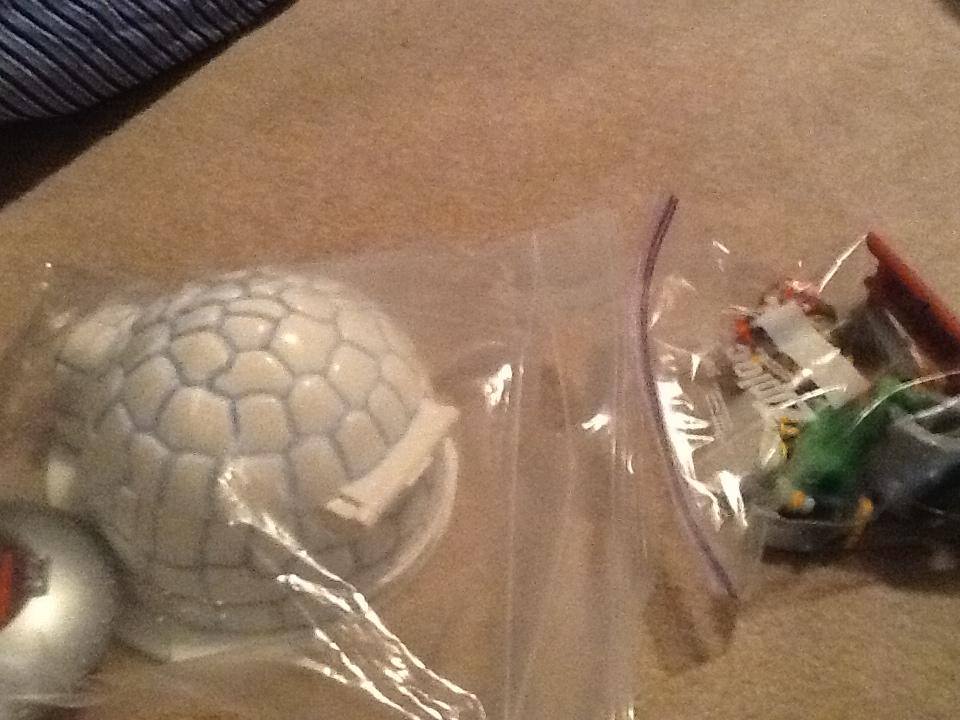
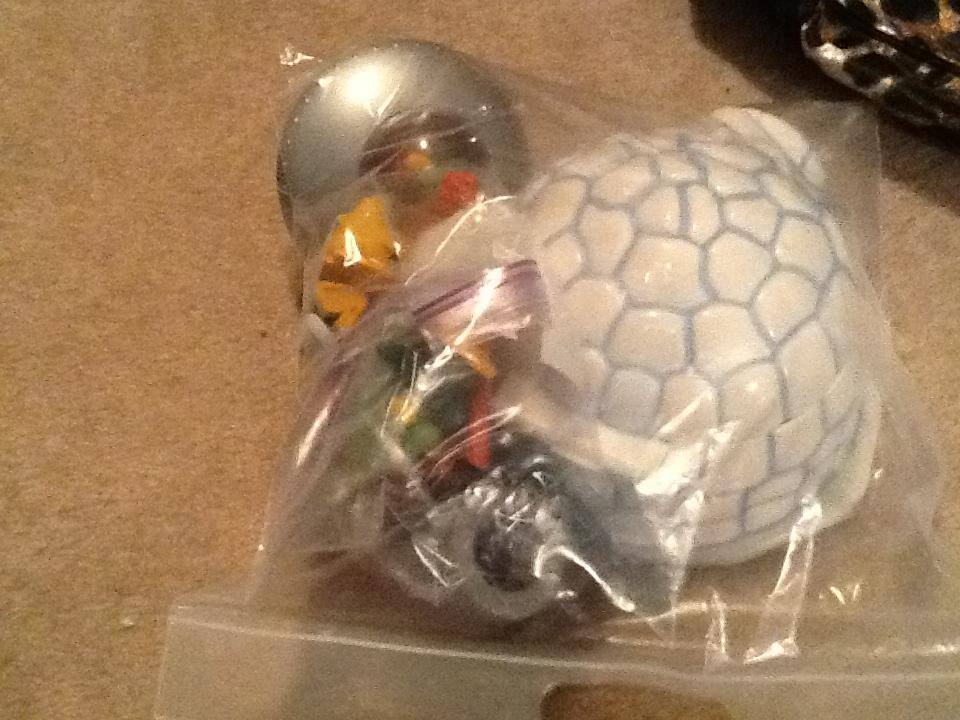
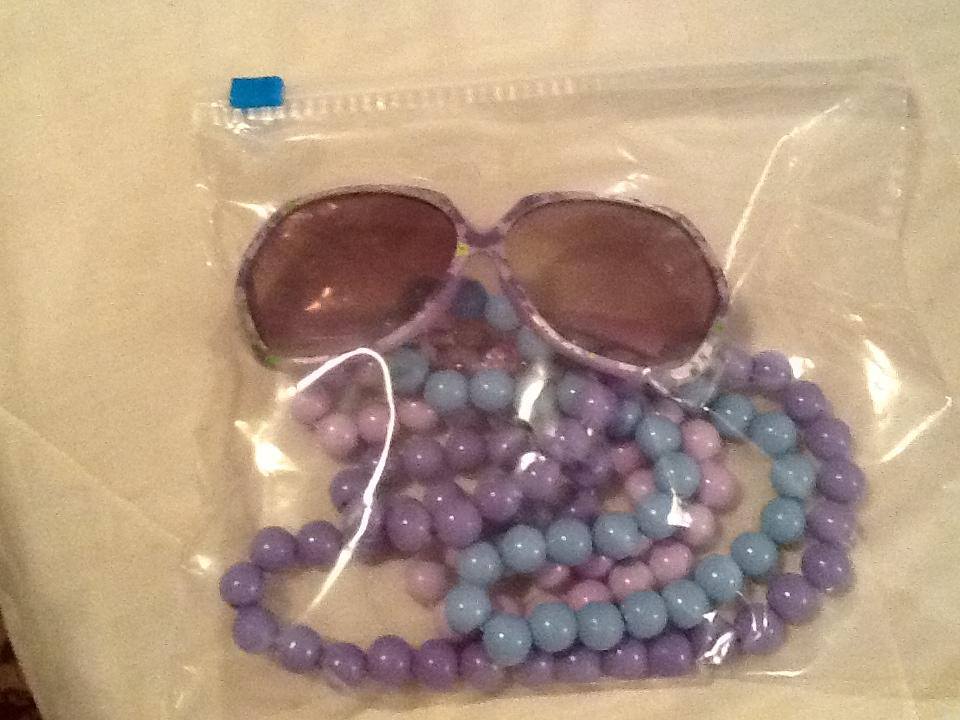
* Appropriate sized Ziploc bags with clear packing tape may be used for everything from socks to toy cars. Tape up the bag with clear packing tape and
secure tag on outside of bag. NEVER USE grocery type bags, Scotch tape, masking tape or non transparent bags. Example is on the bottom of this
page.
* When selling items that have more than one part:
DO NOT sell it if parts are missing.
Package them so little hands can not separate parts.
Secure pieces together with either cable ties or packing tape depending on which works best.
Examples: A. Fisher Price Dollhouse and furniture
1. Close house if possible with cable ties. If you have to connect more than one to make the closure work, do that.
2. Then place all furniture in a large Ziploc bag, or more if necessary
3. Securely tape
4. Secure the bag(s) to the dollhouse either inside or outside so no one can separate the pieces and in a way that will not damage the house. . 5. Secure the tag on the house so it will be out of sight for little eyes. Make sure the tag is secure, but able to removed when needed.
B. Wooden Puzzle
1. Choose an appropriate ziploc bag to do one of two things.
a. Place all pieces in one big ziploc bag that will hold the entire puzzle without compromising the bag.
b. Place only the pieces in the ziploc bag and tape it shut with clear packing tape. Then take the taped bag and gently, but generously tape the bag to the back of the puzzle with a painter's tape.
2. Then tape tag to the ziploc bag so the puzzle itself is not compromised.
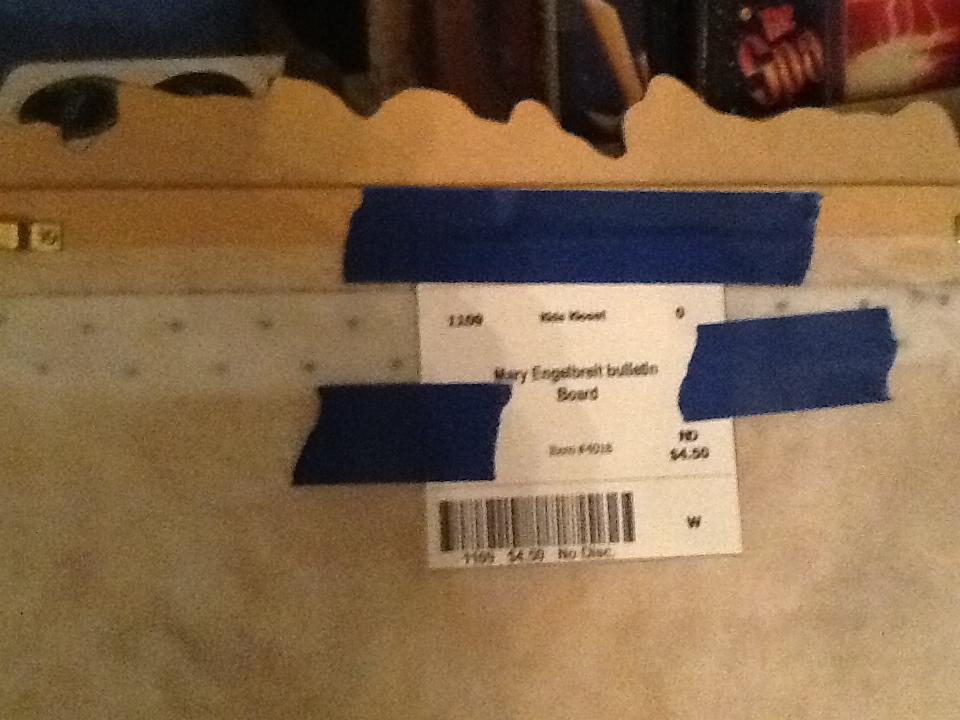
* When selling books or board games use a painter's tape to tape the tag to the item. CHEAT: A trick to tape it all with a little more work, but it looks better.
1. Tape the tag with clear tape to a strip of painter's tape.
2. Then, using the painter's tape with the tag attached to the top of painter's tape, tape the piece to the book or game.
Clothes do not sell well in bags other than a few exceptions. Even small baby items sell better when they are hung.
- Onesies ( of the same size) should be grouped in multiples and bagged.
- USE APPROPRIATE SIZED HANGERS,
Over size 3, using your judgement, look much better on larger hangers.
There is also a medium size hanger, a vinyl coated wire hanger. This is suitable for those in between sizes.
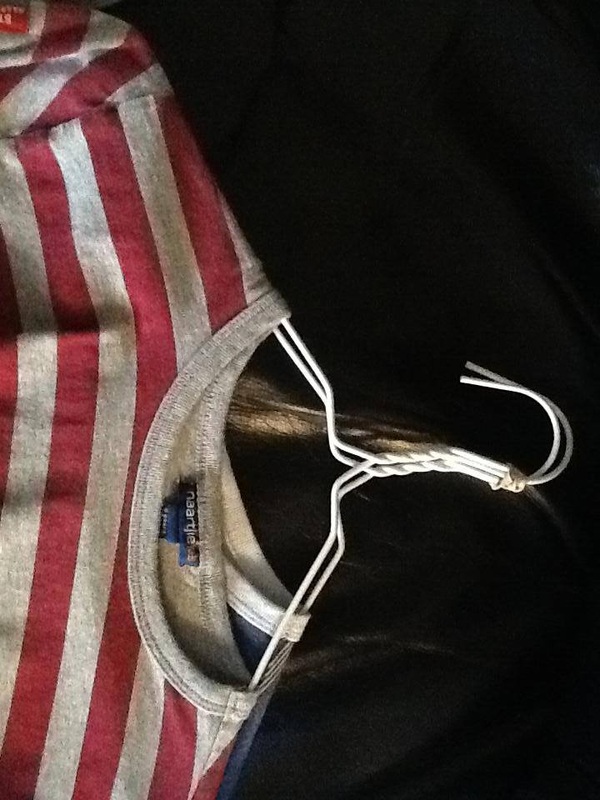
- All garments need to be hung in the direction of a ? This means when looking at the garment the hook should look like a question mark.
- Button all buttons, snap all snaps, zip all zippers. Hang as wrinkle free as possible.
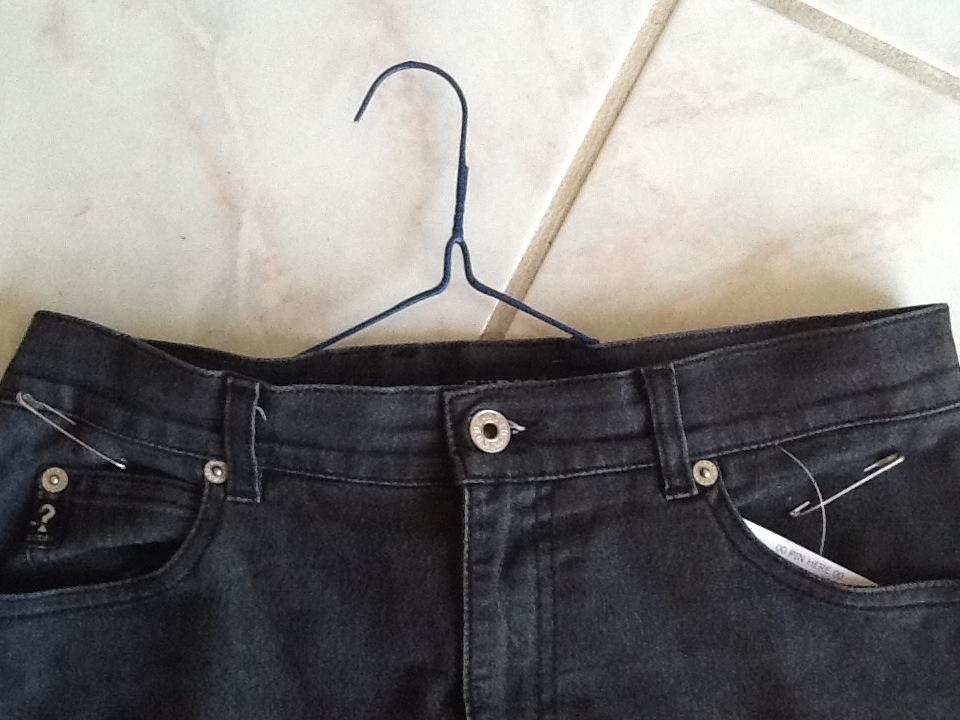
- If you do not have pants hangers, pin pants, skirts, shorts right under the waistband to the neck of the hanger. Pin under the waistband over the hanger, back through the item and then close the pin. This will secure the item onto the hanger without sliding and the presentation is much better. Use the larger safety pins so you will not hurt your hand and the item will be much more secure.
- Do not try to hang pants on a hanger without pinning them to the neck of the hanger. This is in the case you do not have pants hangers. Do not try to use clothes pins to secure pants, this way will not work.
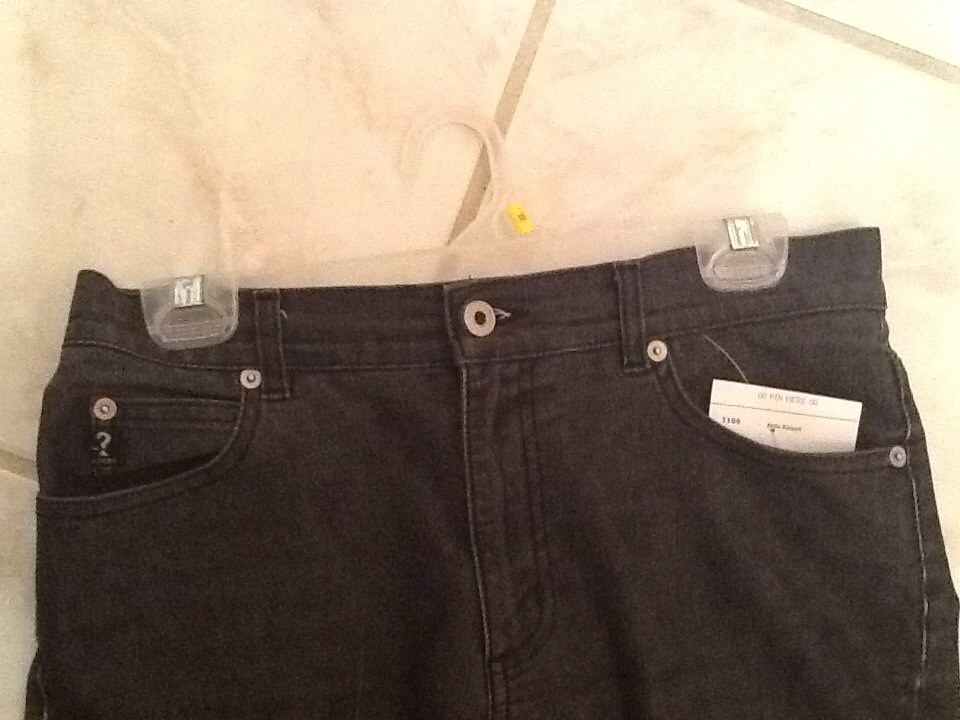
- Pants hangers work best for all pants.
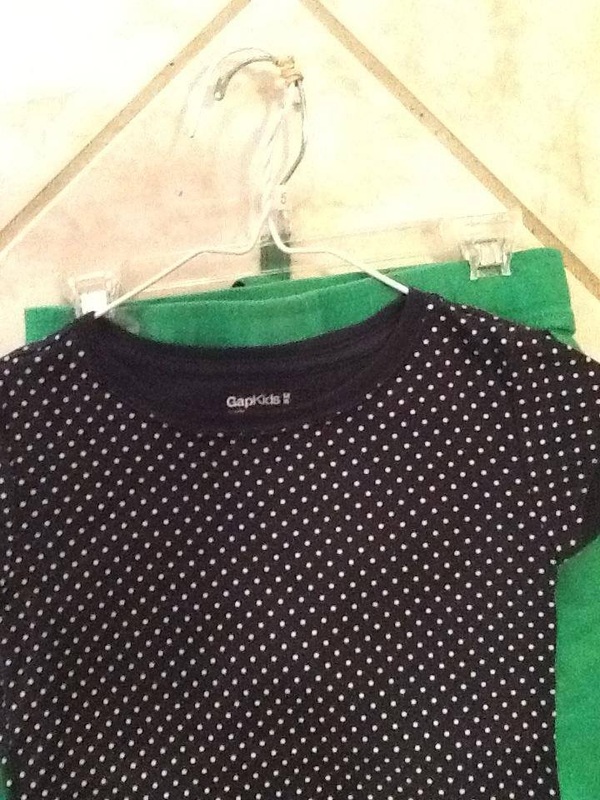
- For 2 piece items you can safety pin pants or skirt to the back of the shirt so both the pieces can be seen. Pin right under the WAISTBAND of the pants to shoulders of the shirt on the neck of the hanger. Let the hanger carry the weight of the pants. If the item is too heavy, like with bigger size clothing, pin the 2nd item underneath the shirt onto the neck of the hanger, as listed above, or hang on seperate hanger and rubberband 2 pcs. together. Example on bottom of this page.
- If the 2nd item is pinned to low on the shirt tearing or ripping of the garment could occur.
- *If you have 2 pcs. that need to be sold together but are on seperate hangers please rubberband them together. Example on bottom of this page.
- Shoes, try to cable tie them together so they may be still tried on. Baby shoes under size 2 please put in a ziploc bag and put tag on outside of bag with clear packing tape.
* If you are using a tagging gun to tag your clothing, DO NOT puncture clothing other than in the label. If there is no label then you may use
the waistband if a bottom or the intersection of the seams if it is a top.
* If you are using safety pins or cable ties, attach tag to the label of your garment. If there is no label then you may use the waistband if a bottom or the
intersection of the seam if it is a top.
* Appropriate sized Ziploc bags with clear packing tape may be used for everything from socks to toy cars. Tape up the bag with clear packing tape and
secure tag on outside of bag. NEVER USE grocery type bags, Scotch tape, masking tape or non transparent bags. Example is on the bottom of this
page.
* When selling items that have more than one part:
DO NOT sell it if parts are missing.
Package them so little hands can not separate parts.
Secure pieces together with either cable ties or packing tape depending on which works best.
Examples: A. Fisher Price Dollhouse and furniture
1. Close house if possible with cable ties. If you have to connect more than one to make the closure work, do that.
2. Then place all furniture in a large Ziploc bag, or more if necessary
3. Securely tape
4. Secure the bag(s) to the dollhouse either inside or outside so no one can separate the pieces and in a way that will not damage the house. . 5. Secure the tag on the house so it will be out of sight for little eyes. Make sure the tag is secure, but able to removed when needed.
B. Wooden Puzzle
1. Choose an appropriate ziploc bag to do one of two things.
a. Place all pieces in one big ziploc bag that will hold the entire puzzle without compromising the bag.
b. Place only the pieces in the ziploc bag and tape it shut with clear packing tape. Then take the taped bag and gently, but generously tape the bag to the back of the puzzle with a painter's tape.
2. Then tape tag to the ziploc bag so the puzzle itself is not compromised.
* When selling books or board games use a painter's tape to tape the tag to the item. CHEAT: A trick to tape it all with a little more work, but it looks better.
1. Tape the tag with clear tape to a strip of painter's tape.
2. Then, using the painter's tape with the tag attached to the top of painter's tape, tape the piece to the book or game.
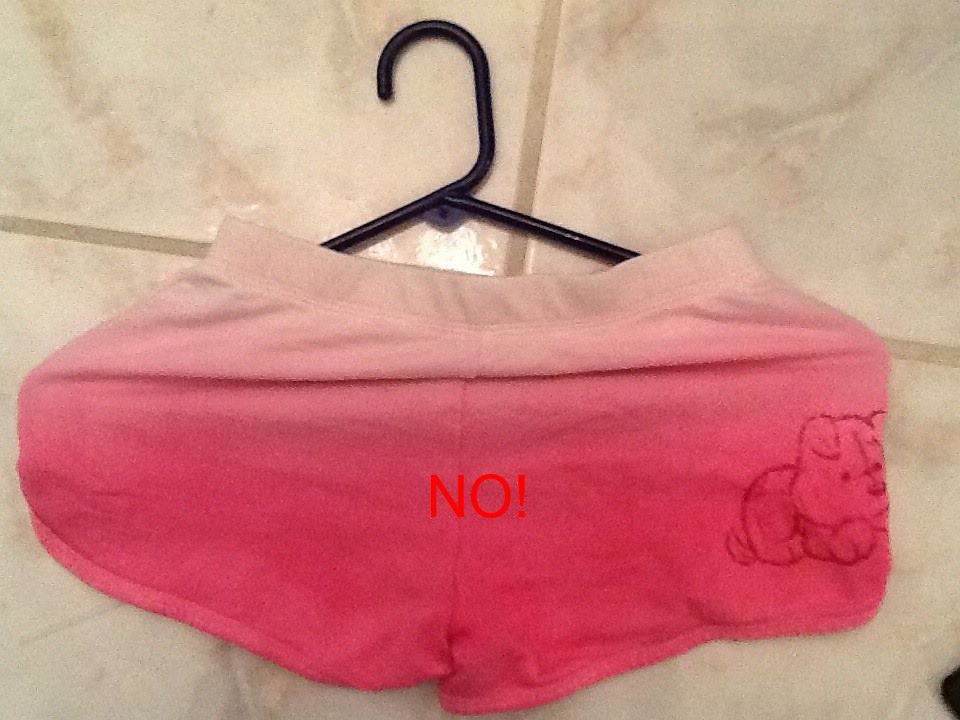
A few of the hangers not to use and a few ways not to use them.
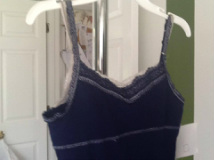
These are some of the best way to hang garments. |
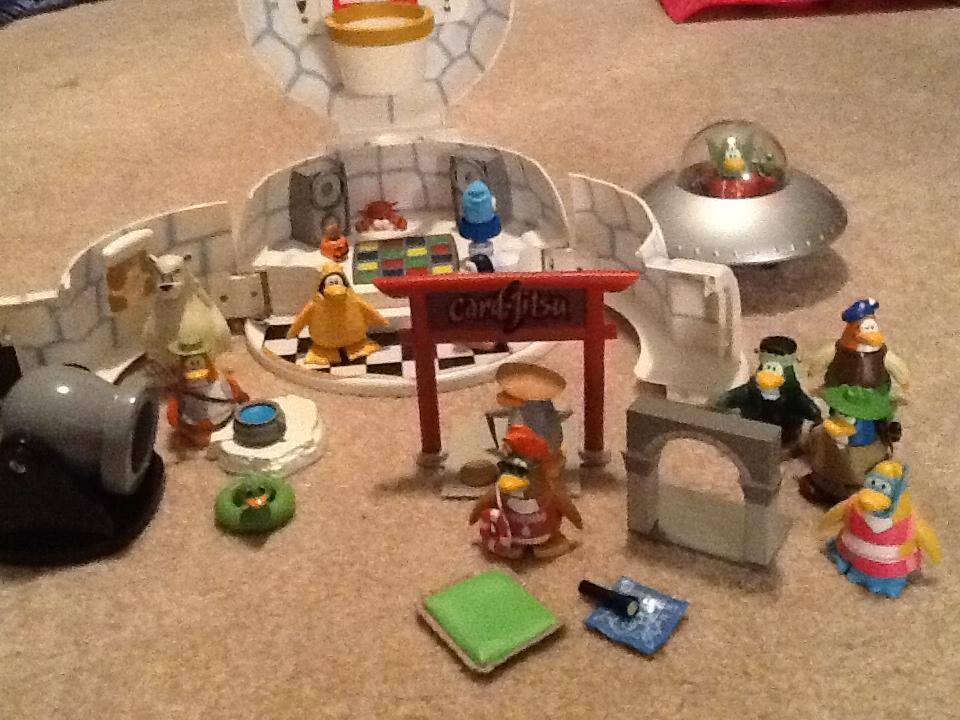
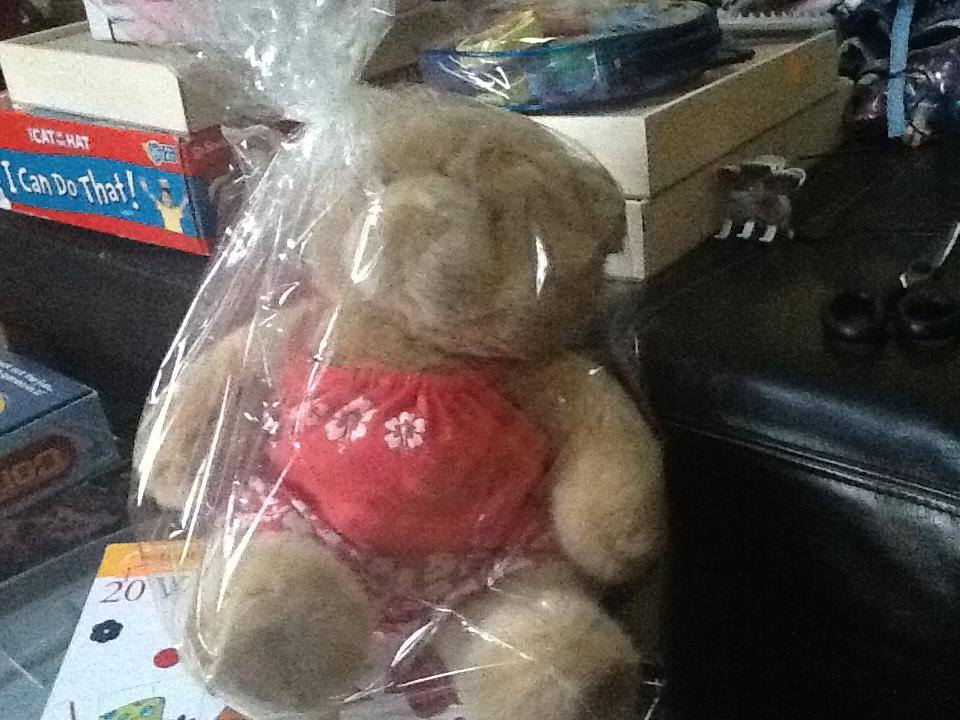
Best way to package and tag random odd pieces.
INFORMATION ON TAGS
30% of retail is a good general rule to go by when pricing items. Base the price also on the wear of the item. Remember that consignment does not mean retail.
*Please size according to how the garment fits not necessarily what the tag says.
For example if a garment label shows size 3 but fits like a 2 you would tag this as a size 2.
Please use the following as a guide when sizing your items...
*ALWAYS ALWAYS ALWAYS enter the brand of the garment first on the Description line 1 entry. Description should also include color, number of pieces if more than 1, any other detail that will fit in both description lines. You may use abbreviations that are understandable.
JUNIOR CLOTHING
ALWAYS ALWAYS ALWAYS enter Jr. g or Jr. b then brand for all Junior girls and Junior boys items on Description Line 1.
Jr. sizes should have these sizes listed in the size category:
X SMALL is a 0-3
SMALL is 3-5
MEDIUM is 7-9
LARGE is 11-13
XLARGE is anything over a 13
If your item is listed as a Large and you know that is from the Junior's dept., then when scrolling for size on tag entry be sure to put a number size not a word size.
* Junior sizes are only considered to be Junior if they are sold in a Junior Dept. Please give as much detail as possible in the area provided on the tag.
**THERE IS A MIN. PRICE OF $1.00. YOU MAY USE .50 INCREMENTS AFTER THAT!!!***
NO EXCEPTIONS!! ANYTHING LESS THAN A $1.00 WILL NOT SCAN!!
If an item is not worth a dollar you may group like items together and sell them as one item.
*Please size according to how the garment fits not necessarily what the tag says.
For example if a garment label shows size 3 but fits like a 2 you would tag this as a size 2.
Please use the following as a guide when sizing your items...
- Children's clothes-Numerical sizes, i.e. 3-6 Months, 24 Months, 3T, 6, 10, 14, etc.
- Juniors-Girls-Numerical sizes, i.e. 1, 5, 9, etc At Description Line 1: Add Jr. G and then the brand of item. Only if you did forget or have printed out tags then, go back and hand write JR under the size of the garment if it is a Junior Girls clothing item.
- Maternity clothing-Alpha sizes, i.e. S, M, L, XL
*ALWAYS ALWAYS ALWAYS enter the brand of the garment first on the Description line 1 entry. Description should also include color, number of pieces if more than 1, any other detail that will fit in both description lines. You may use abbreviations that are understandable.
JUNIOR CLOTHING
ALWAYS ALWAYS ALWAYS enter Jr. g or Jr. b then brand for all Junior girls and Junior boys items on Description Line 1.
Jr. sizes should have these sizes listed in the size category:
X SMALL is a 0-3
SMALL is 3-5
MEDIUM is 7-9
LARGE is 11-13
XLARGE is anything over a 13
If your item is listed as a Large and you know that is from the Junior's dept., then when scrolling for size on tag entry be sure to put a number size not a word size.
* Junior sizes are only considered to be Junior if they are sold in a Junior Dept. Please give as much detail as possible in the area provided on the tag.
**THERE IS A MIN. PRICE OF $1.00. YOU MAY USE .50 INCREMENTS AFTER THAT!!!***
NO EXCEPTIONS!! ANYTHING LESS THAN A $1.00 WILL NOT SCAN!!
If an item is not worth a dollar you may group like items together and sell them as one item.
HOW TO DISCOUNT YOUR ITEMS FOR SALE DAY
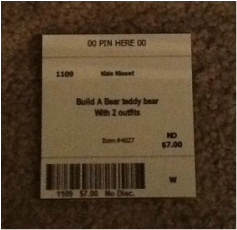
Your items will only be discounted if you check “discount” when adding your items into the system You may not write over the tag to change the discount. You HAVE to change this in the computer, therefore, will have to print out a new ticket.
The ND over the price explains to the shopper that this particular item is not discounted. When the customer checks out, the computer will only read what is on the tag, no handwritten info. So this item will not be half on the appointed days.
